Cleaning Huckleberries and Blueberries
/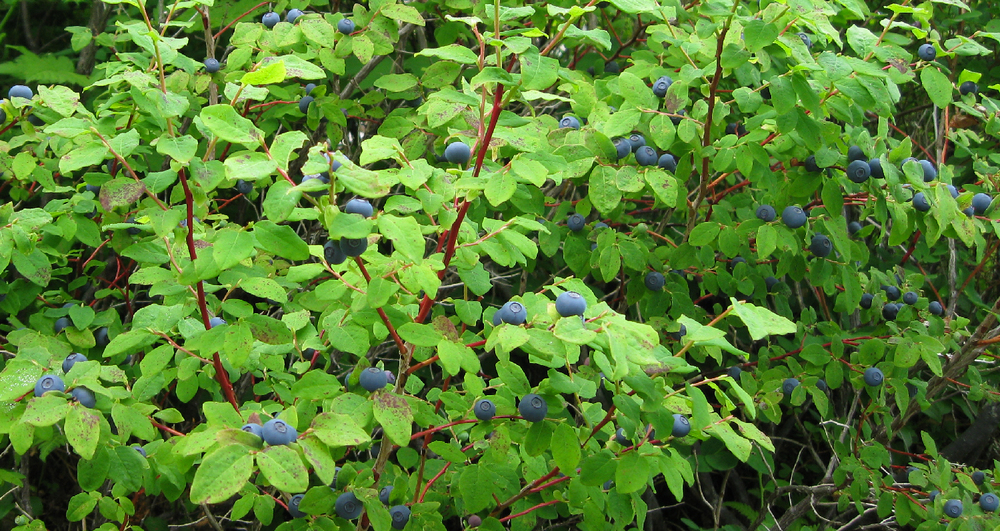

Coming home with several gallons of blueberries and red huckleberries that you picked is so-o satisfying! Thousands of small, self-contained orbs sparkling with taste and nutrition, a bucket of rich color and sustenance, the day of quenching your very, very deep gathering thirst condensed into a container of beautiful food that you are holding in your arms.
And it has all kinds of pretty leaves and bits of sticks in it. Nice color accents, but not nice in the pies and jam. Okay, don't let the cleaning portion of berry picking be a downer. Cleaning the berries doesn't have to take two whole days, but it will take some setup to clean them more efficiently. If you picked two quarts of berries then cleaning them by hand is faster, but if you came home with your five gallon bucket feeling heavy then you might keep reading.
There are three steps to this process: Blow out the leaves, rinse, and pick out any remaining stems. The first step is the one with the most setup.
You need
- a couple of fans that are eventually going to get ruined (a box fan works well for one of them)
- something to brace the box fan up
- string or wire ties
- a piece of 1/4" or 3/8" hardware cloth about 2'x3' (3/8" mesh is best, but harder to find)
- duct tape to wrap the edges of the hardware cloth screen
- a large, deep container to roll berries into (shallow bowls don't work because the berries roll right out the other side!)
- a table or other flat surface
- an extension cord
All of this stuff should be outside, because this gets messy. Berries will escape and get squished underfoot. Leaves will blow all over.
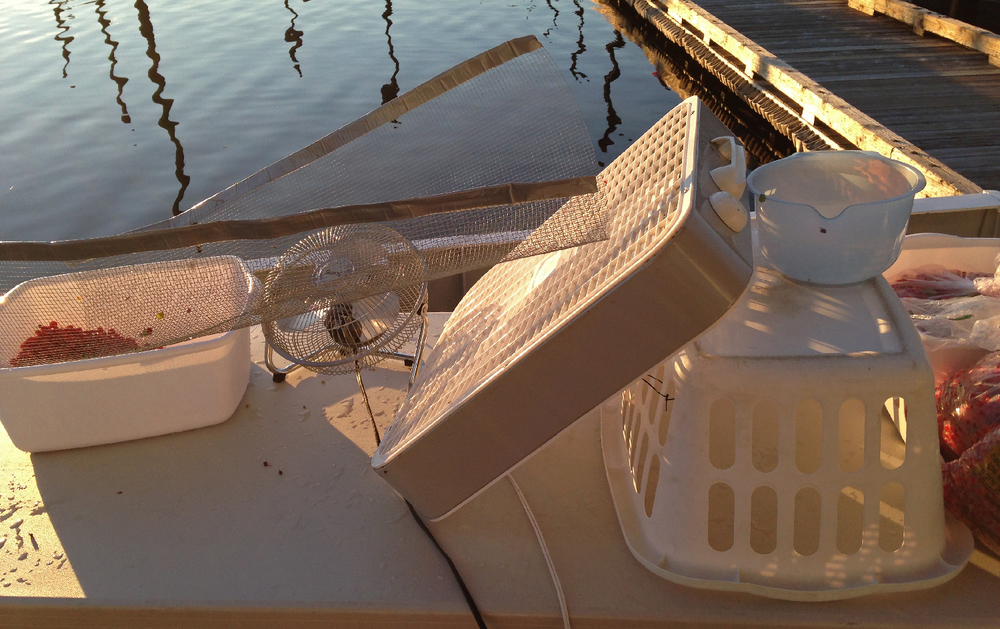

Setup on the back deck of the boat for the first step of cleaning blueberries and red huckleberries.
The box fan is tied to the laundry basket to keep it braced up. The second fan provides extra lift. Turn both fans on high and then sprinkle the berries onto the top of the screen. As the berries roll down then the leaves should blow away. Move the fans and adjust the angle of the screen to get the best lift.
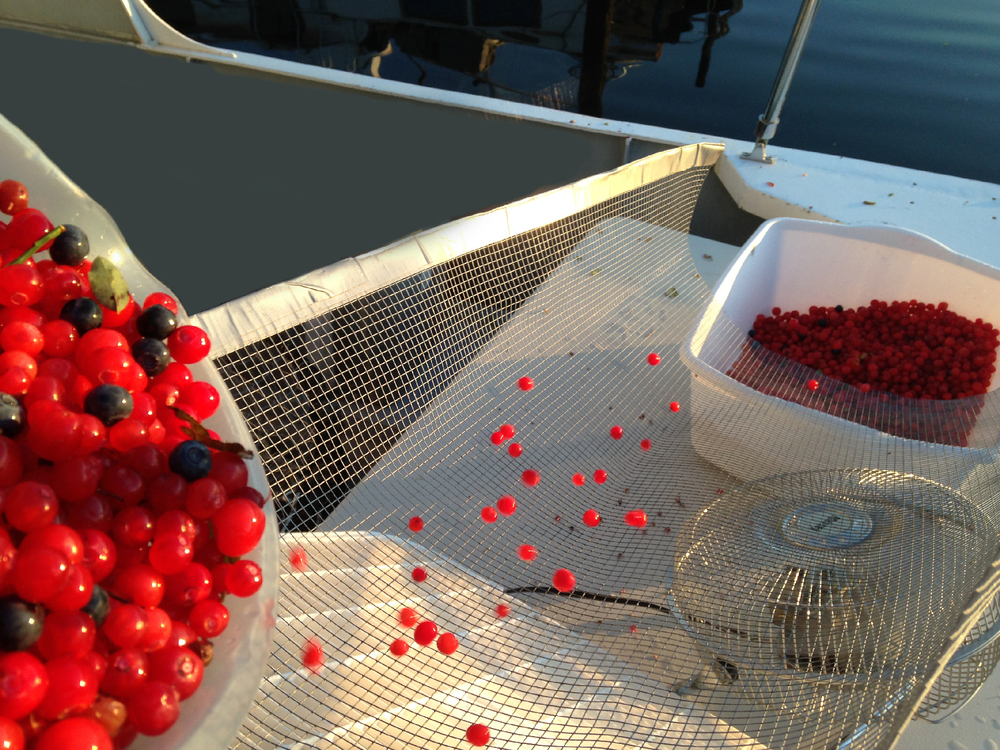

Rolling red huckleberries down the screen. Bend the sides of the screen up to keep the berries going the right direction.
Tips...If the berries are wet then it helps to run them over the screen twice. Pick out sticks and berries that won't roll as you go. Tiny berries will fall through the screen to make you giggle when they go "ping!" in the fan. Keep one hand on the screen to jiggle it to help the berries roll well. Shake out the screen when stuff gets stuck in it.
Step Two...
After blowing the leaves off then the screen is handy again. This part works well in a double sink, but can also be done using buckets and a garden hose.
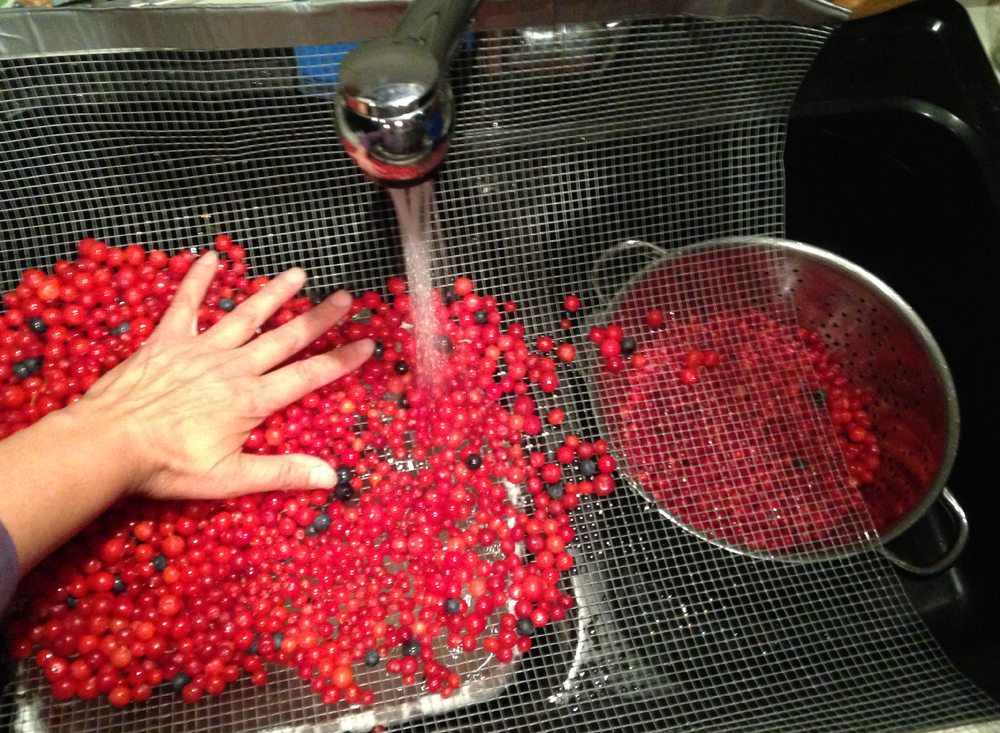

Gently rolling the berries around while rinsing them.
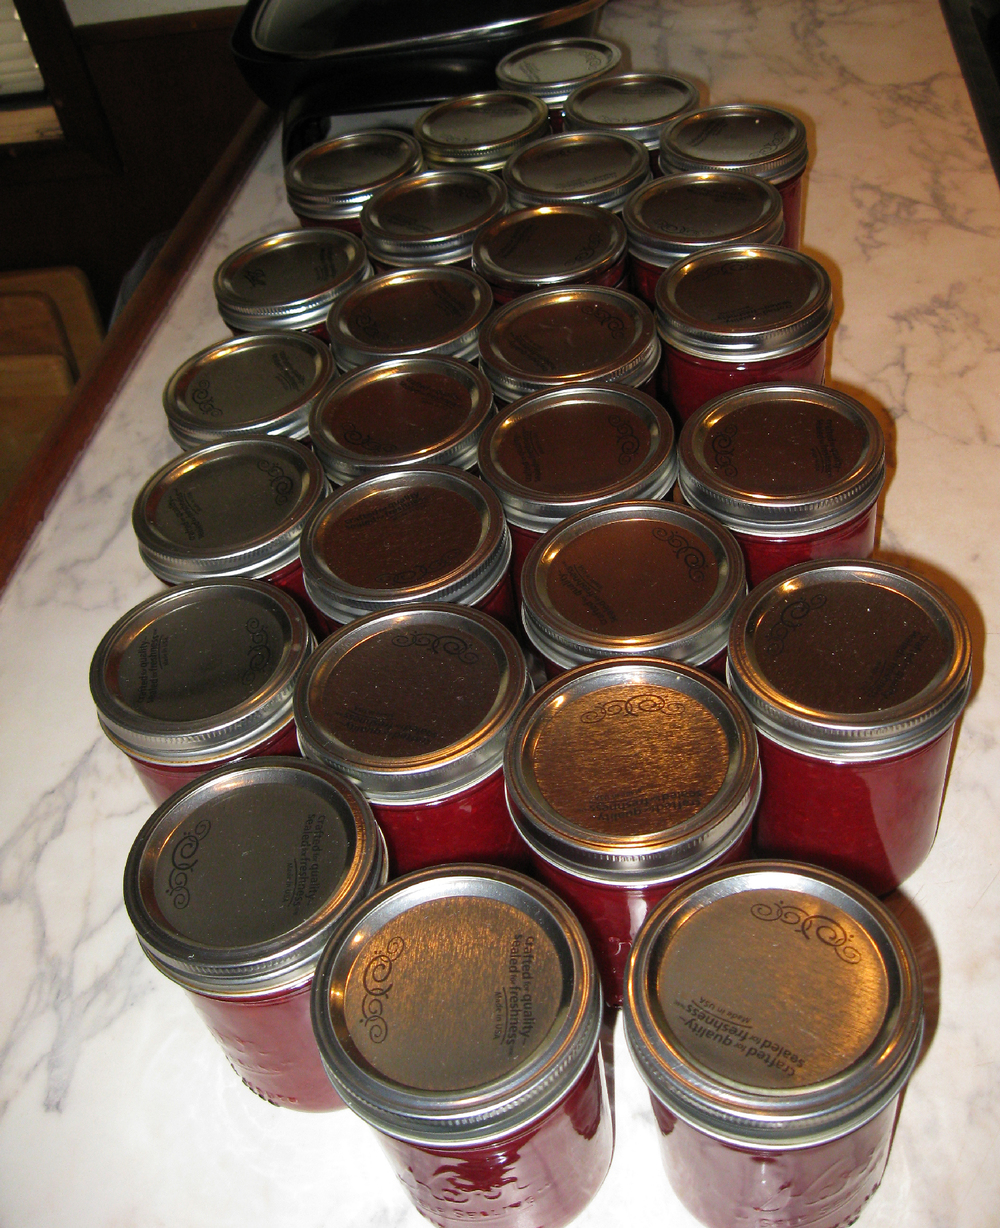

Red huckleberry jam ready for labeling. I thank my wonderful sweetheart for preserving this goodness in jars.
Pour a small batch of berries onto the screen. Roll the berries around with one hand and move the sprayer with the other hand. Pick out any yucky looking berries. When the little bits of stick and moss are washed down through the screen then roll the berries into the colander.
If you were lucky enough to find 3/8" hardware cloth then a lot of the small, unripe berries will fall through and you won't have to pick them out.
As a final check (step 3) I pick through the berries for stems that didn't get knocked off in the first two steps.
The setup and cleanup take some effort, but devising this method has saved me so much time that it is well worth it.
Berry Goodness to You All!
Alaska Beachcomber
For a lighthearted look at blueberry picking - Q&A About Picking Blueberries in Southeast Alaska
Visit the Food and Medicine from Nature page to find more cool articles about foraging.
Discover more
- Pay N Play Kasinot 2025
- Casino Sites UK
- Best UK Non Gamstop Casinos
- Nouveau Casino En Ligne
- Non Gamstop Casinos
- Non Gamstop Casinos
- UK Casinos Not On Gamstop
- Non Gamstop Casino
- Gambling Sites Not On Gamstop
- Non Gamstop Casino
- Non Gamstop Casino
- Non Gamstop Casino Sites UK
- UK Casino Not On Gamstop
- Meilleur Casino En Ligne
- Gambling Sites Not On Gamstop
- Best Casinos Not On Gamstop
- I Migliori Casino Non Aams
- Non Gamstop Casino Sites UK
- Casino Sites Not On Gamstop
- Non Gamstop Casino
- Casinos Not On Gamstop
- Slots Not On Gamstop
- Non Gamstop Casino Sites UK
- Casino Non Aams Sicuri
- Meilleur Casino En Ligne Fiable
- I Migliori Casino Online
- Casino Crypto Liste
- Casino Online Migliori
- Sites De Paris Sportifs Belgique
- Siti Non Aams Scommesse
- Meilleur Casino En Ligne
- Paris Sportifs Crypto
- Site De Paris Sportif
- Meilleur Nouveau Casino En Ligne
- Siti Scommesse Non Aams
- Casino En Ligne France Légal
- Casino Non Aams
- Siti Scommesse Non Aams
- Migliore Casino Non Aams
- Poker En Ligne
- Casino En Ligne Français
- Migliori Crypto Casino
- Slots Non AAMS
- Bitcoin Casino
- Casinò Online Non Aams
- Crypto Casino