Whether sifting through sand, or scrambling over a rocky shore, it's about finding treasures in every day. 

Devil's Club Sun Tea

Some of you have been writing in to ask about how to make devil's club tea. There's several ways to go about it and happily one of the easiest methods is also my favorite! Sun tea is a simple, gentle process.

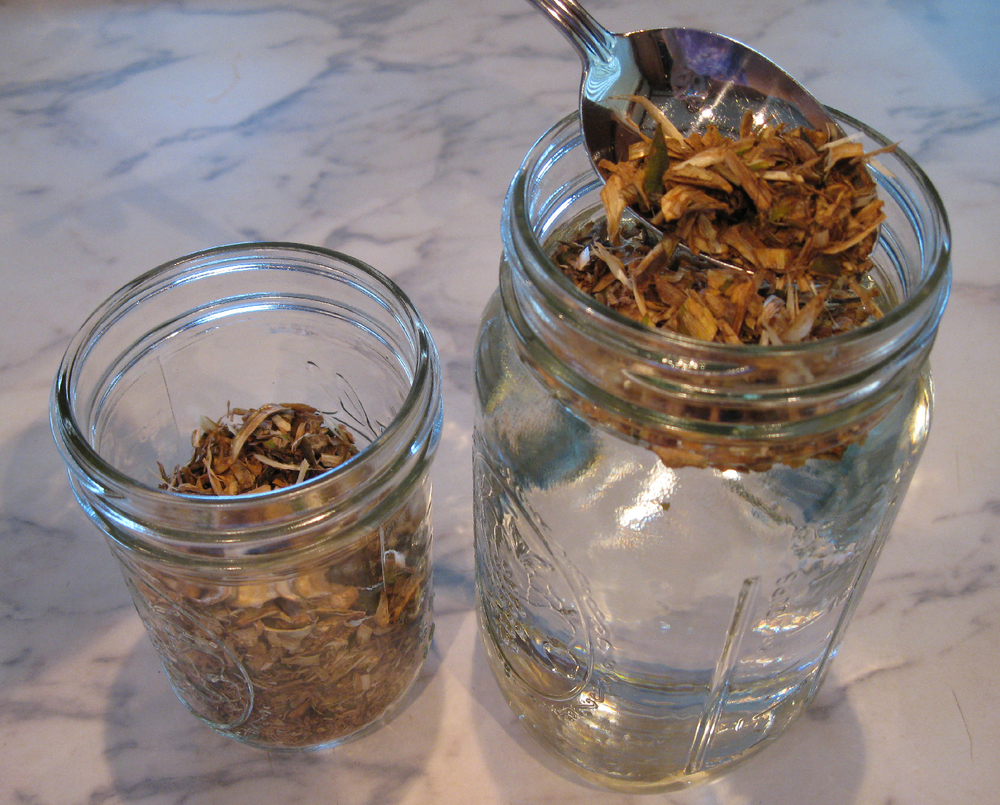
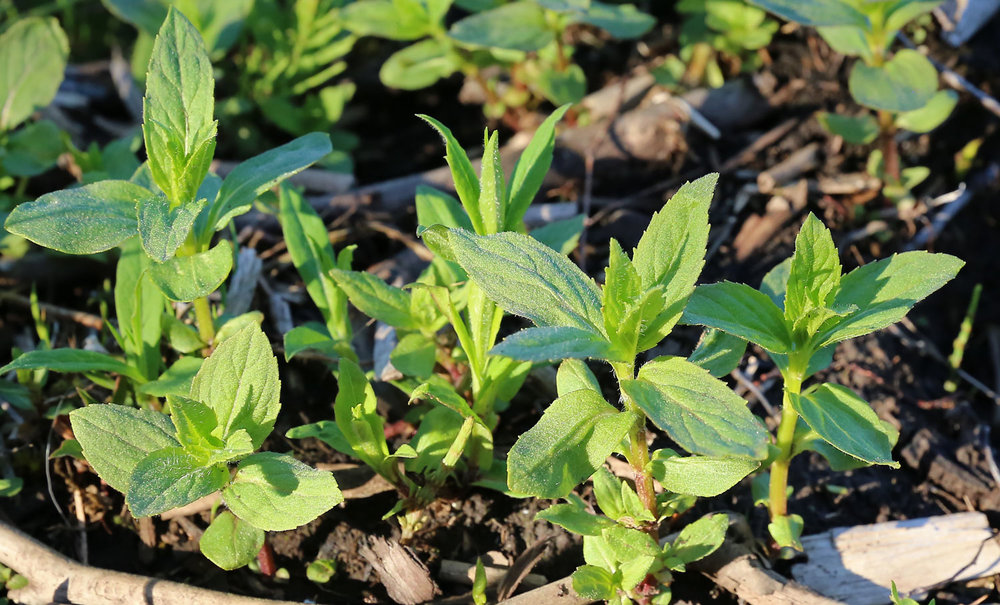
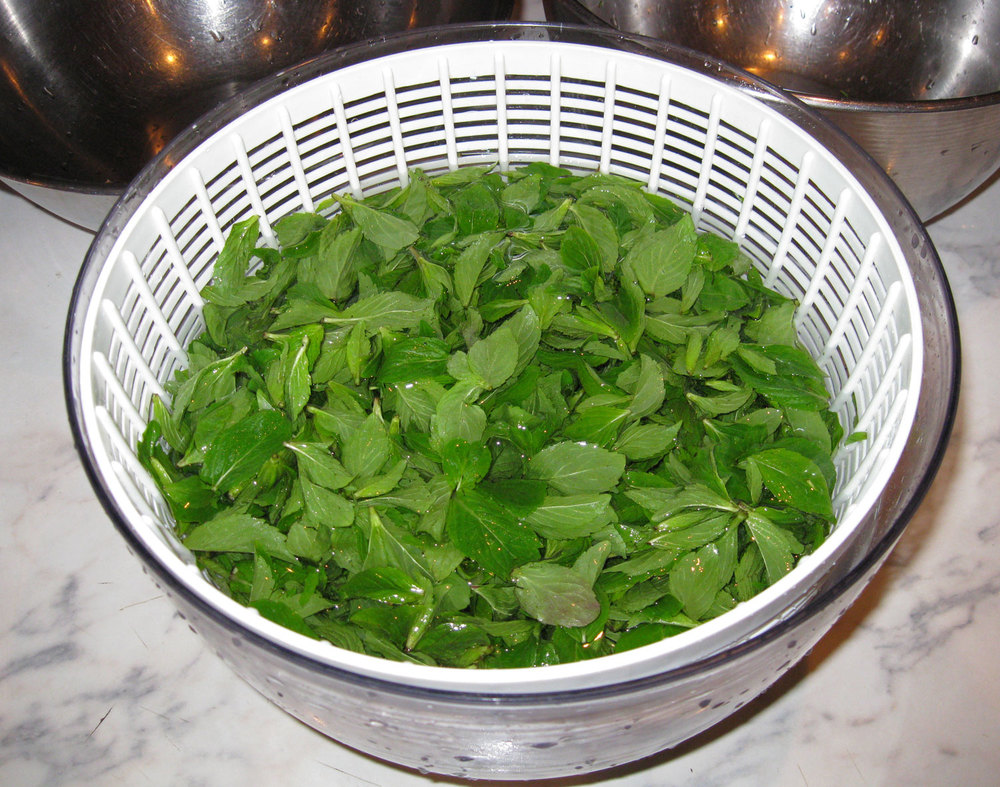
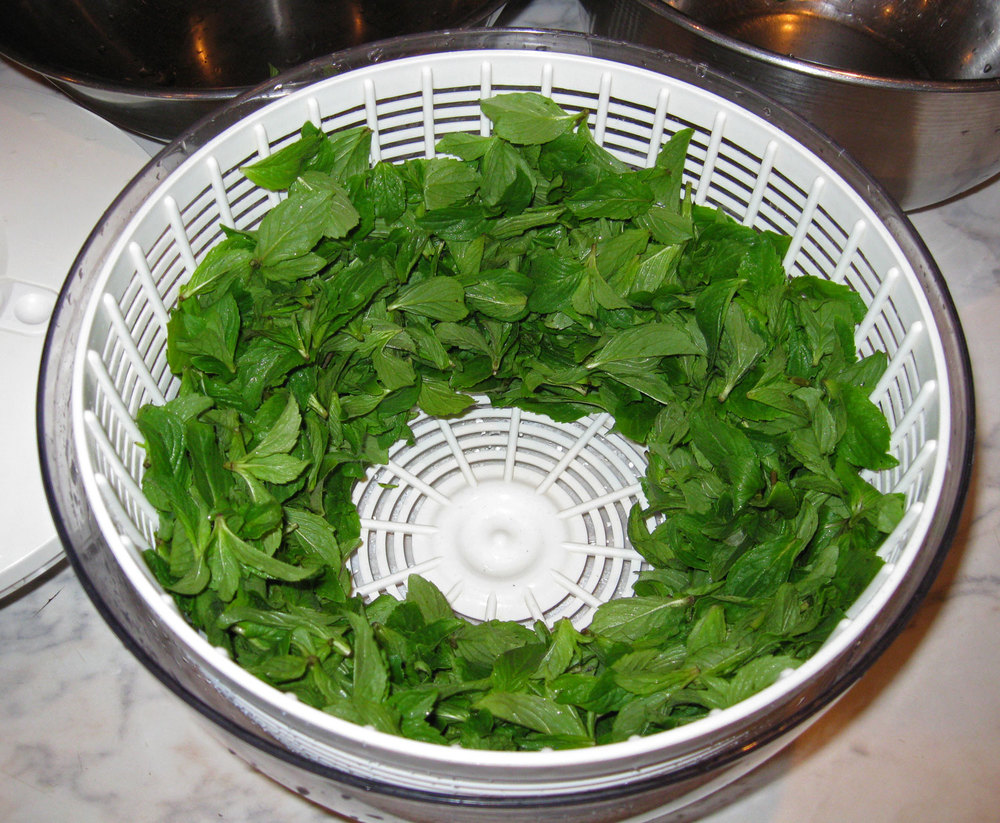
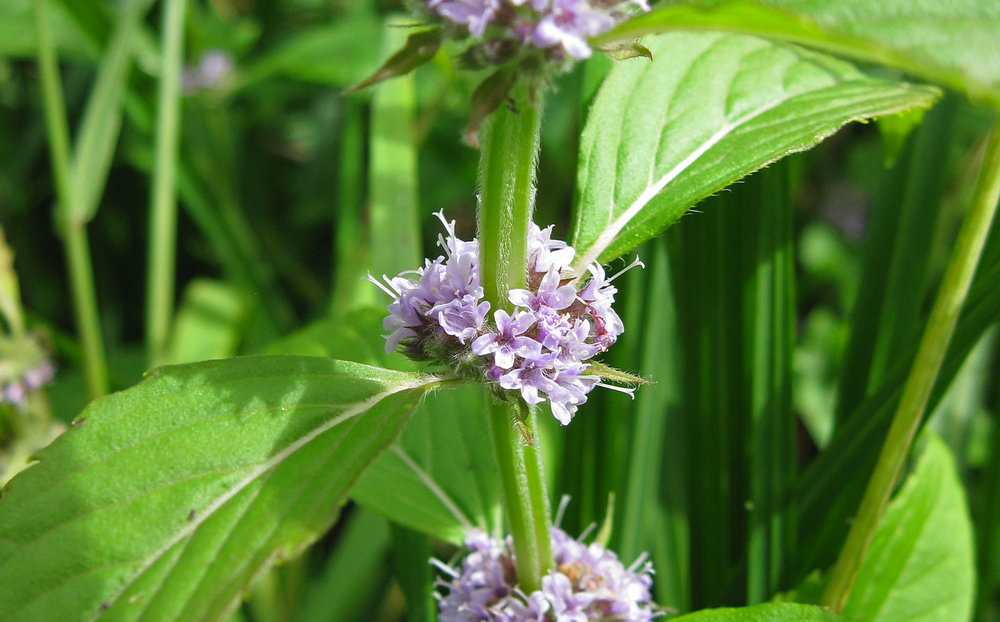
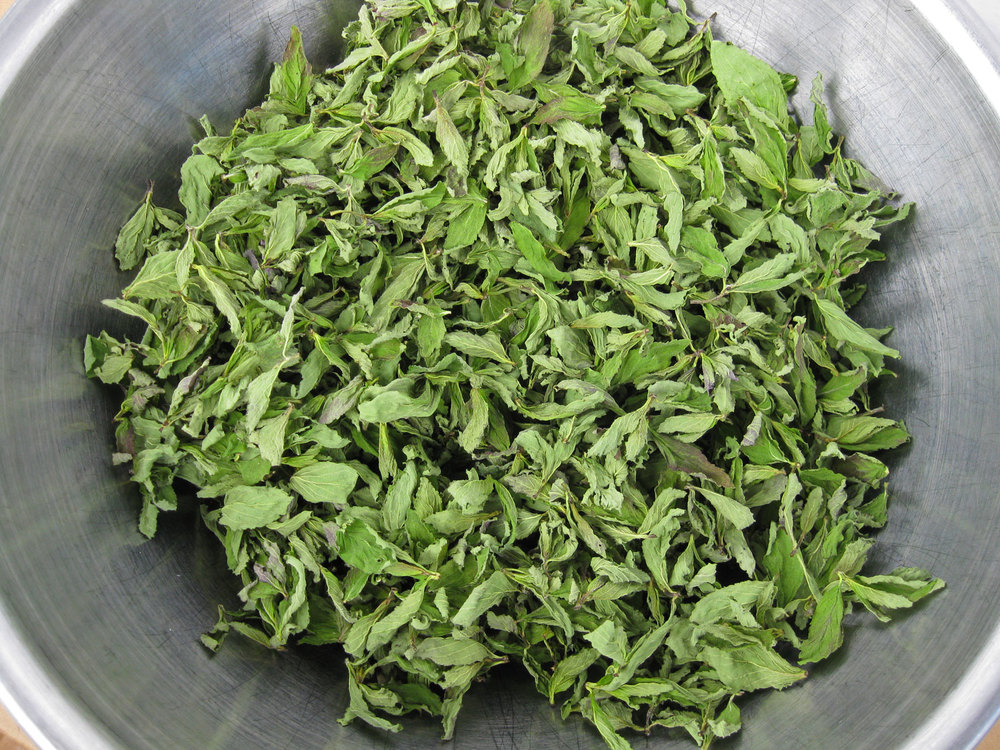
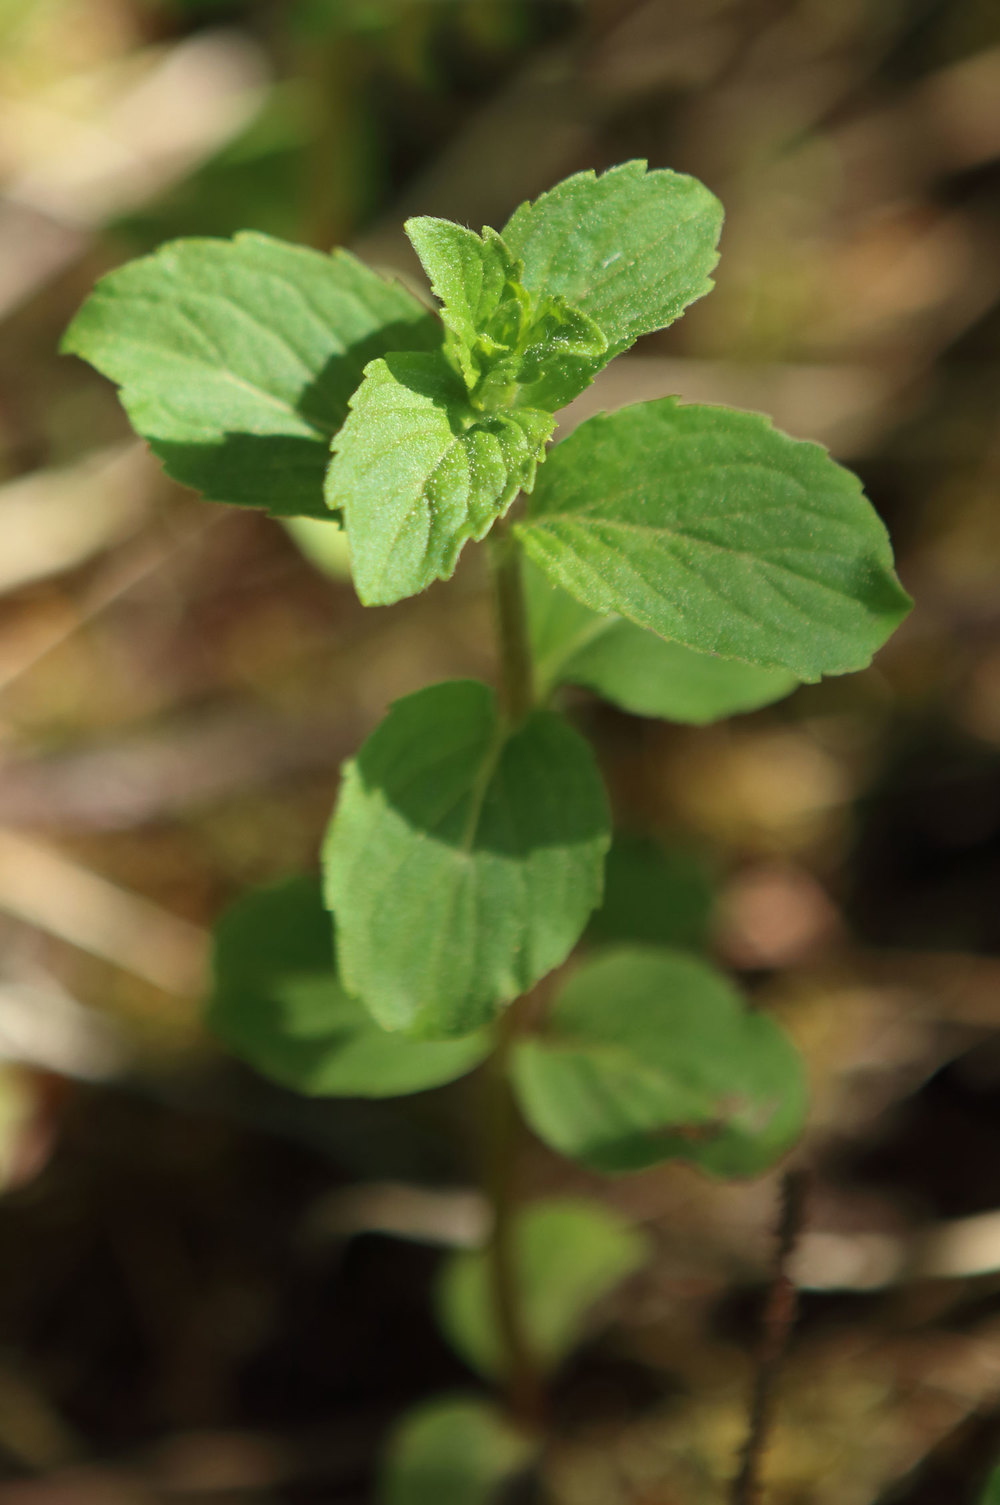
Fill a jar with cool drinking water. Add several spoonfuls of dried devil's club inner bark. You can also add some dried mint at this point for flavor.

To see how to prepare devil's club bark go to Harvesting Devil's Club Root. For tea you can use the inner bark of the stalk, so you don't need to dig the root. Just be sure to wear appropriate gloves and eye protection to handle devil's club stalks! Dry the bark in a dehydrator, a barely warm oven, or on racks above the wood stove. Keep the temperature low and air moving through the bark bits.

The dried bark bits can be ground finer in a coffee grinder and then ironed into tea bags. (See Wild Tea for photos of filling tea bags.)

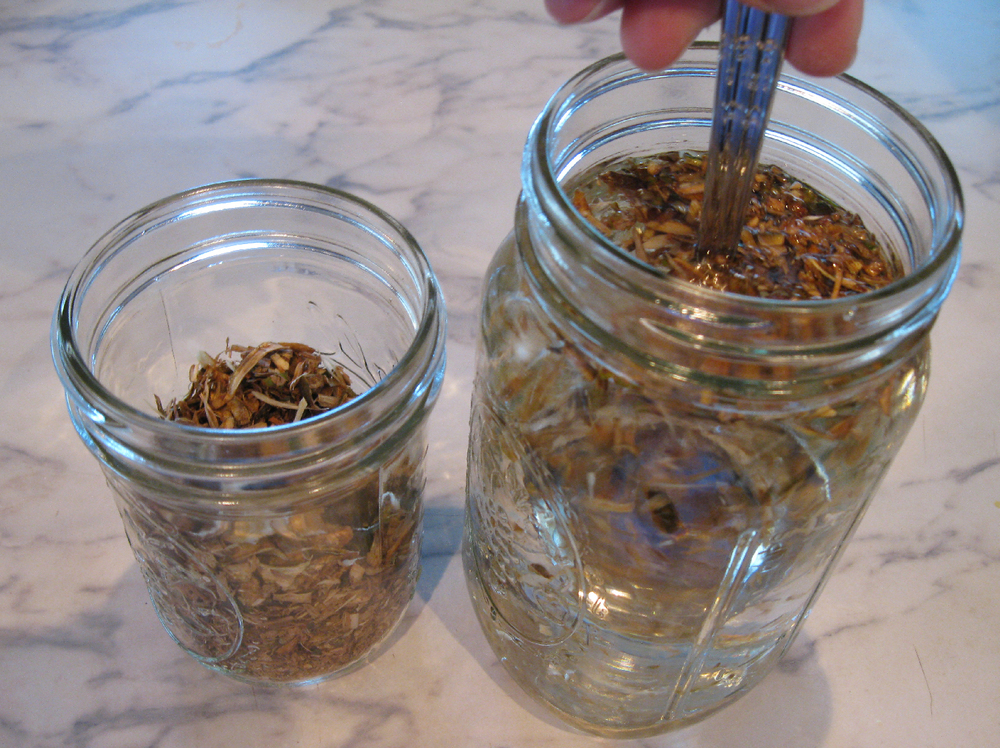
Give it a stir, and then set the jar out in a sunny, safe location. A jar of water can create a magnifying glass which can start a fire when the sun shines through it, so I set mine out on the metal boat deck.  The towel and pot holder are just for the photos.

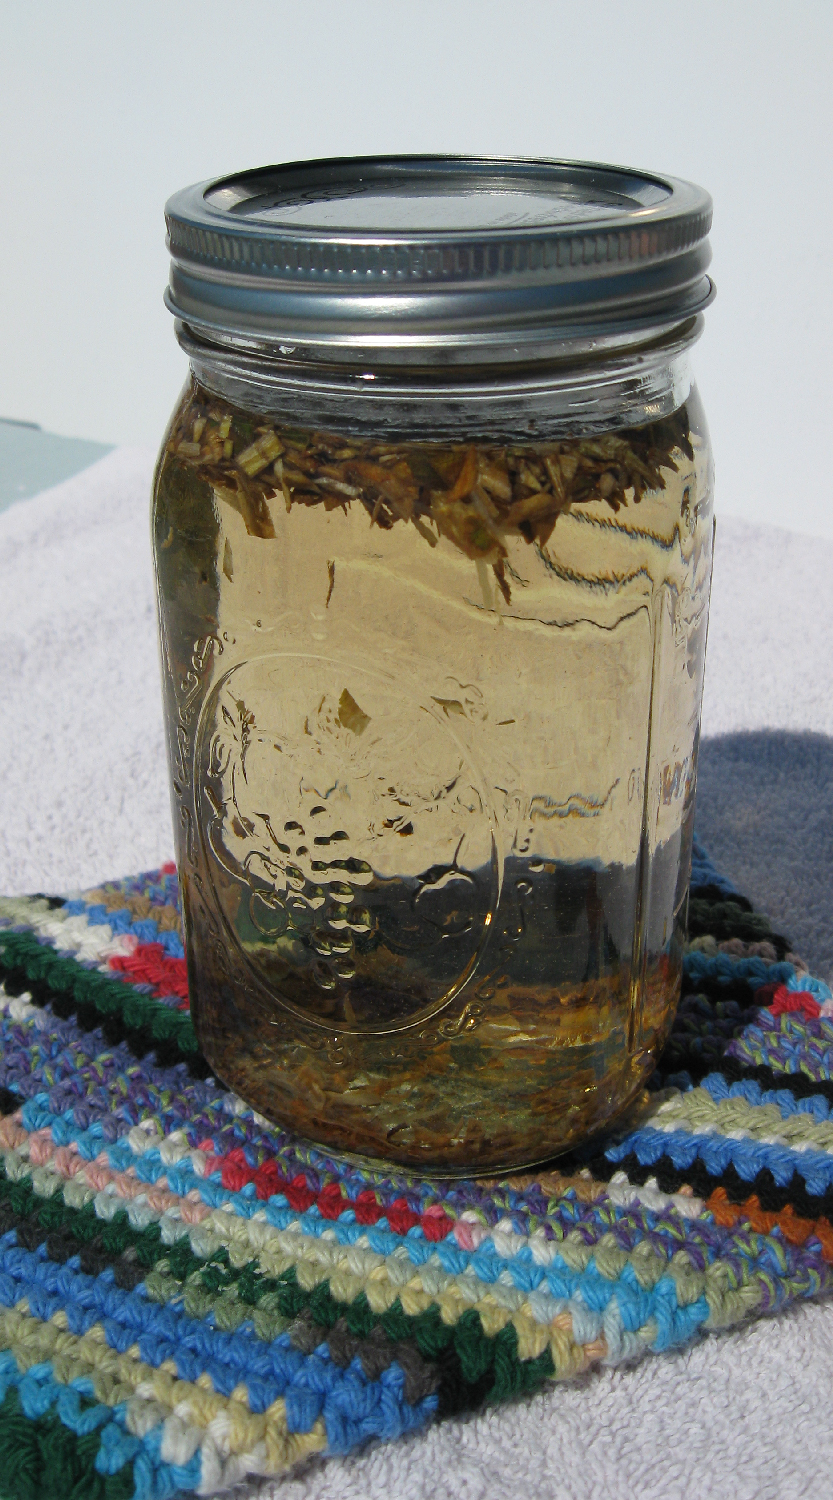
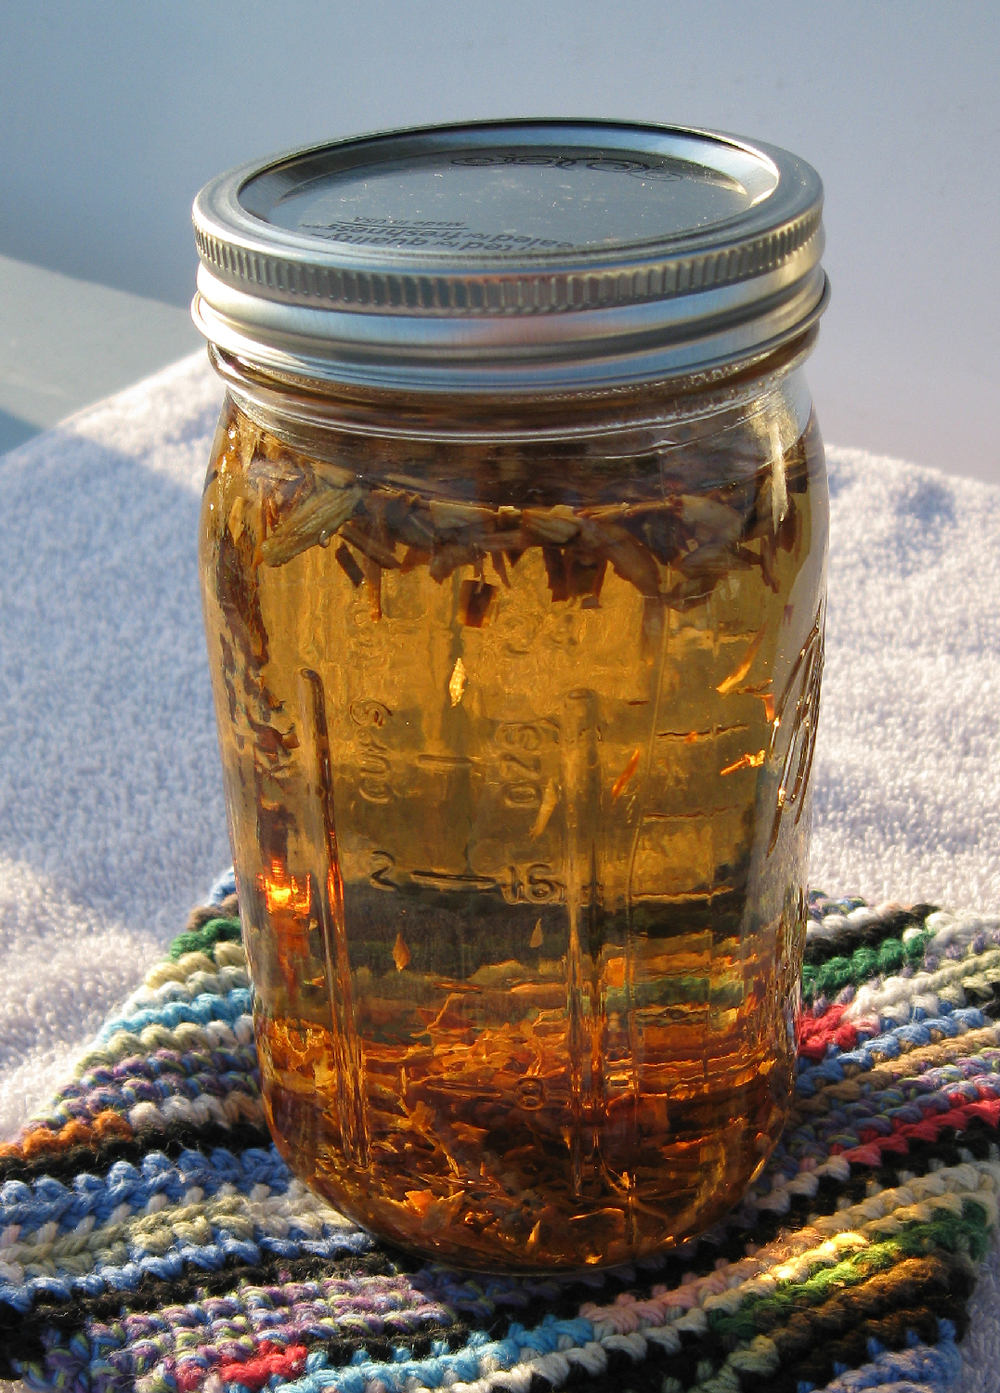
Over a few hours or the course of the day the tea will become a lovely, light golden color.

Strain the tea, add flavors if you like - honey and lemon for you? - and sip a cup while relaxing. Devil's club tea has a medicinal taste. There is usually a light sheen of plant oil on the surface of devil's club tea, which is normal and not harmful. Refrigerate any remaining tea and use it up over the next couple of days.

Devil's club tea is invigorating for some people and gives a gentle lift for others. I like to have a cup to bring myself back after a long, strenuous task or if I am feeling generally wrung out.

Sun tea is a great way to make devil's club tea, but not the only way. You can make devil's club tea by pouring boiling water over the dried inner bark (an infusion), or make a decoction by simmering it. Each method creates a slightly different product.

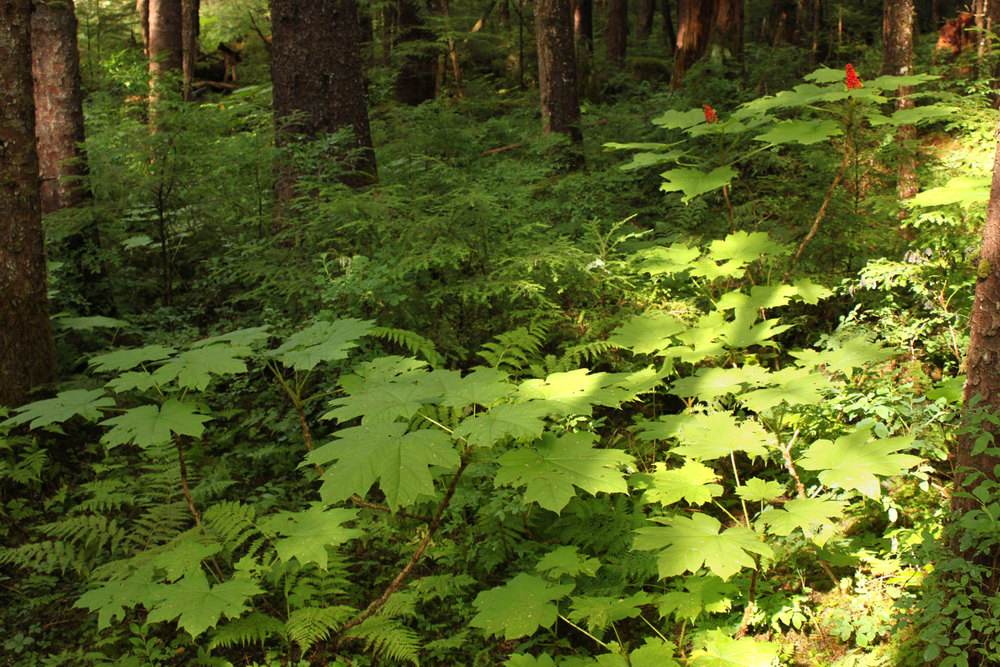
 Devil's club is a powerful plant, and it's many sharp spines are a reminder to handle it with physical and spiritual respect in every step.

There are many articles on the medicinal qualities of devil's club: Ryan Drum, National Geographic, and Juneau Empire are a few.

Devil's club can lower blood sugar when used internally. If you have any reason to have concern there then check with your doctor.

Wishing you a sunshiny day,

Alaska Beachcomber

More posts about wilderness food and medicine:

These statements have not been evaluated by the Food and Drug Administration. This information is not intended to diagnose, treat, cure, or prevent any disease.  The material on this site is provided for informational purposes only and is not medical advice.


Field Mint

Walking along a stream in Southeast Alaska you suddenly realize that there is a sparkling, refreshing scent that makes you smile. Field mint is growing here! When you look down there is a jumble of green to sort through. Your fingers alight on the mint and bring a leaf to your nose. Breathing in that aroma makes your world becomes a little bit clearer and calmer.

In Southeast Alaska field mint (Mentha arvensis) loves to live along streams and beside lakes, popping up in spring and good for harvesting from spring into early summer. It is both edible and medicinal. Today I’m just sharing enough to give you a basic familiarity with this plant and a starting point for using it.

Growing up to two feet tall, field mint has opposite leaves that are rounded to lanceolate, a single stalk or sometimes branching, and that stalk is square in cross section. In late spring to early summer tight clusters of light violet flowers are tucked into the junction of the stalk and leaves.

Young mint plants hanging out with buttercup, grass, and baby lupine

It is early in the year, and the mint might not be blooming yet. This might help you to see the mint plants...

You can pick a few leaves to put on the dash of your car and enjoy for the day, or you might like to harvest some mint to add to a salad or to dry for tea. Nip the tops of the plants off with scissors or your thumbnail leaving plenty so that the plant can continue to grow.

What could be better than harvesting aromatic mint on a sunny day in this beautiful place?

Young mint plants colonizing a beaver dam.

  • Fresh leaves should be put in the cooler so that they don’t wilt during the trip home.
  • If you nip them off with your thumbnail then the tip of your nail will turn black, but will clean up pretty easily (as opposed to some plants that dye your fingers for days).
  • Spittle bugs love mint, and those hoppy insects will slime most of the mint plants in a patch as the growing season progresses.
  • Being streamside, mint is often gritty and will need a few good rinses.
  • Wild mint is more delicate than most garden varieties.
  • Mint is easy to grow - so easy that it often slips out of it's bed in the middle of the night and roots in with all the other herbs.
  • Store dried mint in a tightly sealed canning jar in a dark place.
  • Field mint has a limited shelf life after drying. I like to use it up within 6 or 8 months.

Rinsing in a salad spinner is nice because the leaves can be lifted out in the colander and the grit stays in the bowl.

After rinsing the bowl and spinning the leaves they are ready to go on the dehydrator racks.

Keep the heat low in the dehydrator. At about 90 degrees the leaves should be dry in 3 to 5 hours. If the leaves bend instead of breaking then they are not dry yet.

Field mint blossoms snuggle in where the leaves and stalk meet.

You can also pick the stems and rubber band them together in small bunches. Hang the bunches upside down in a warm, dry area that has some air movement. When they are dry then strip the leaves off of the stems.

If the mint is handled well and dried quickly then it will retain some of the green color.

When that big bag of mint is dry and ready to store then it is going to crunch up into a pint canning jar. Don't worry, it only takes a small amount to add flavor to recipes, or to make a mug of mint tea. Mix your mint with dried spruce tips for a delicious tea.

  • Mint tea is helpful for digestion, or can be used to stimulate appetite.
  • Mint tea can calm an upset tummy.
  • Mint has many other medicinal uses that I am not going to cover here. Continue your exploration of this delightful plant!
  • Fresh mint is a source of vitamins A, C, and K, and minerals calcium, iron, and manganese.

Happy Gathering!

Alaska Beachcomber

Related posts: Wild Tea, Foraging Stinging Nettles, Tasty Spring Greens, Harvesting Devil's Club Root, Devil's Club Sun Tea.


Cleaning Huckleberries and Blueberries

Coming home with several gallons of blueberries and red huckleberries that you picked is so-o satisfying! Thousands of small, self-contained orbs sparkling with taste and nutrition, a bucket of rich color and sustenance, the day of quenching your very, very deep gathering thirst condensed into a container of beautiful food that you are holding in your arms.

And it has all kinds of pretty leaves and bits of sticks in it. Nice color accents, but not nice in the pies and jam. Okay, don't let the cleaning portion of berry picking be a downer. Cleaning the berries doesn't have to take two whole days, but it will take some setup to clean them more efficiently. If you picked two quarts of berries then cleaning them by hand is faster, but if you came home with your five gallon bucket feeling heavy then you might keep reading.

There are three steps to this process: Blow out the leaves, rinse, and pick out any remaining stems. The first step is the one with the most setup.

You need

  • a couple of fans that are eventually going to get ruined (a box fan works well for one of them)
  • something to brace the box fan up
  • string or wire ties
  • a piece of 1/4" or 3/8" hardware cloth about 2'x3' (3/8" mesh is best, but harder to find)
  • duct tape to wrap the edges of the hardware cloth screen
  • a large, deep container to roll berries into (shallow bowls don't work because the berries roll right out the other side!)
  • a table or other flat surface
  • an extension cord

All of this stuff should be outside, because this gets messy. Berries will escape and get squished underfoot. Leaves will blow all over.

Setup on the back deck of the boat for the first step of cleaning blueberries and red huckleberries.

The box fan is tied to the laundry basket to keep it braced up. The second fan provides extra lift. Turn both fans on high and then sprinkle the berries onto the top of the screen. As the berries roll down then the leaves should blow away. Move the fans and adjust the angle of the screen to get the best lift.

Rolling red huckleberries down the screen. Bend the sides of the screen up to keep the berries going the right direction.

Tips...If the berries are wet then it helps to run them over the screen twice. Pick out sticks and berries that won't roll as you go. Tiny berries will fall through the screen to make you giggle when they go "ping!" in the fan.  Keep one hand on the screen to jiggle it to help the berries roll well. Shake out the screen when stuff gets stuck in it.

Step Two...

After blowing the leaves off then the screen is handy again. This part works well in a double sink, but can also be done using buckets and a garden hose.

Gently rolling the berries around while rinsing them.

Gently rolling the berries around while rinsing them.

Red huckleberry jam ready for labeling. I thank my wonderful sweetheart for preserving this goodness in jars.

Pour a small batch of berries onto the screen. Roll the berries around with one hand and move the sprayer with the other hand. Pick out any yucky looking berries. When the little bits of stick and moss are washed down through the screen then roll the berries into the colander.

If you were lucky enough to find 3/8" hardware cloth then a lot of the small, unripe berries will fall through and you won't have to pick them out.

As a final check (step 3) I pick through the berries for stems that didn't get knocked off in the first two steps.

The setup and cleanup take some effort, but devising this method has saved me so much time that it is well worth it.

Berry Goodness to You All!

Alaska Beachcomber

For a lighthearted look at blueberry picking - Q&A About Picking Blueberries in Southeast Alaska

Visit the Food and Medicine from Nature page to find more cool articles about foraging.